Making your own drawers
Making your own accessories can be both a satisfying and cost effective means of getting what you want. The desire to build a set of draws came from seeing custom draws made by a couple of mates which pretty much duplicated the style of the Outback roller draws. However having the fridge on top of the draws is great if you are 195cm like me, but when your partner is 165cm it means she will always be on your case to get something out of the fridge.
So on the train going to work I started to sketch out my ideas. I then measured up my mates draws and the back of the 80 series to see how I would go with a stacked draw configuration. Following my mates advice I planned to maximise the actual sizes by cutting the draws to suit the maximum space. So I ordered the sections that made up the draw sides over length which meant I could cut them to size after I had a rough idea on space required.
So after drawing up some folding plans for a sheet metal company to fold some 1.6mm gal sheet to, I collected my $400 of steel and headed home ready to start the project.
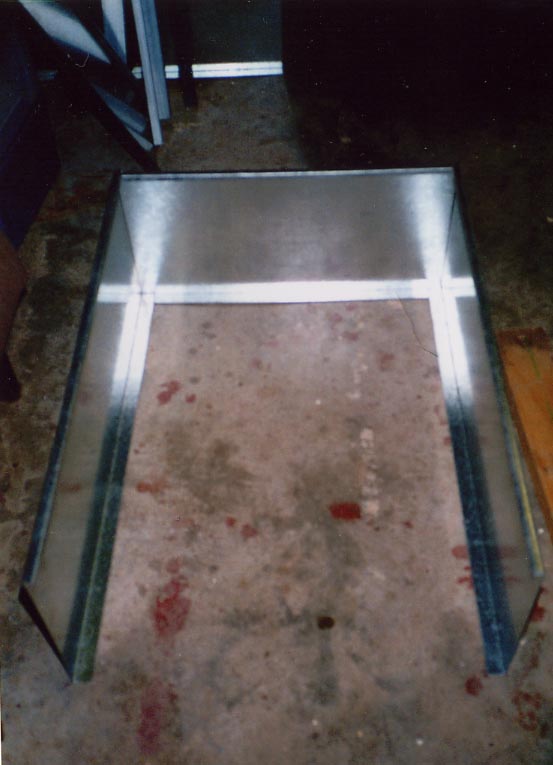
 First
step was to put the bottom supports in the rear of the cruiser and get my
mounting hole spacing and drill some holes. The bottom supports are
what hold the thing off the carpet so you have an airspace. Next was to
put the two outside supports in and clamp them in to get position and clearance
from the cargo barrier and rear doors. With these marked I could then
drill some holes so they could be bolted down.
First
step was to put the bottom supports in the rear of the cruiser and get my
mounting hole spacing and drill some holes. The bottom supports are
what hold the thing off the carpet so you have an airspace. Next was to
put the two outside supports in and clamp them in to get position and clearance
from the cargo barrier and rear doors. With these marked I could then
drill some holes so they could be bolted down.
Next step was to determine the width of the fridge section. My aim (which I achieved) was to minimise the space used by the fridge and maximise draw size. Although I could have used looser tolerances I decided that 10mm in draw width was more useful than 10mm of airspace.
By clamping the centre section in place to suit the fridge width (two L sections are the sides of the fridge slide with a ply base board) I temporarily positioned the fridge slide in place using packing material. At this point I was able to determine the maximum width of the two draws. The ends were cut to size using a jig saw and I was ready to weld the draw parts into draws.
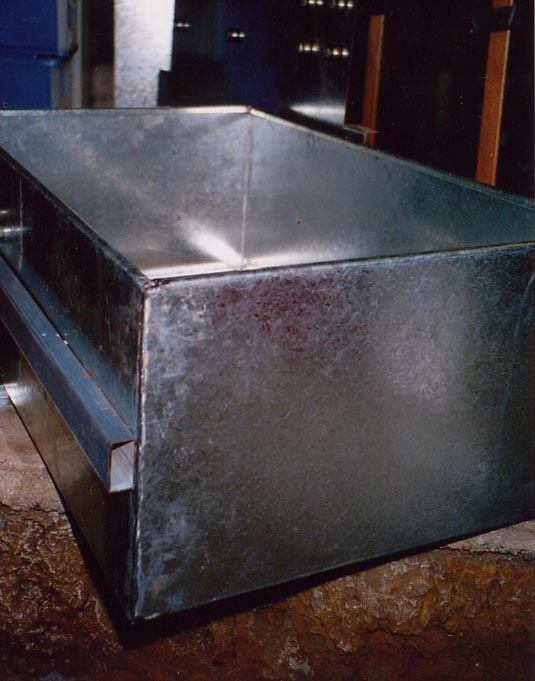
After the draws were welded square I could test the spacing of the runners.
To do this I screwed the runners on temporarily. The holes in the uprights
were jigged using pieces of wood cut to the correct height to suit the 6200
sealed bearings I had obtained. Ensuring the bearings were perfectly in
line was not as hard as expected as long as the old maxim of measure twice
cut/drill once is adhered to.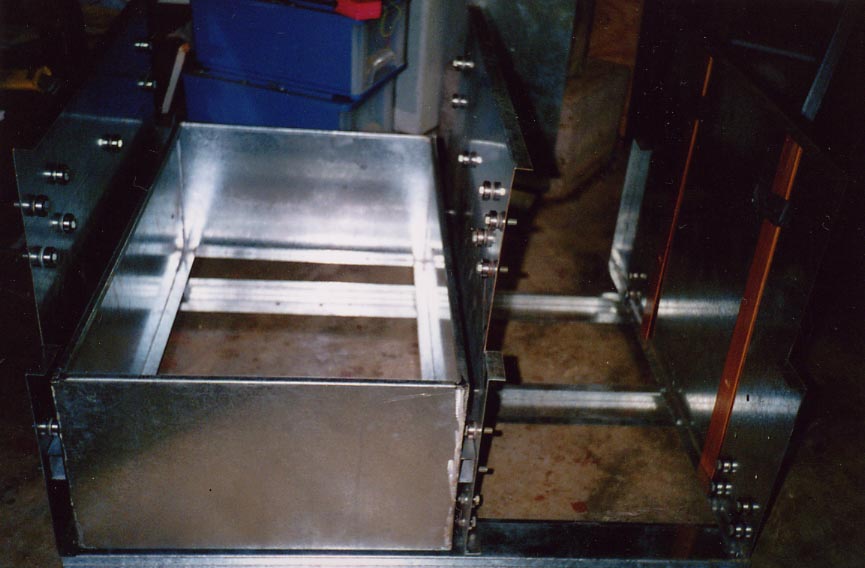
The basic principle in placing the bearings is that they have to be able to support the weight of a loaded draw which over my distance I assumed 4 per side would suit, then a top rear bearing to stop rear rattle, then two at the front top to stop it flopping down when opened. As my bearings had a 10mm inside diameter I drilled 10mm holes for a perfect fit. The bearings were bolted using M10 x25 bolts with two washers to space the bearing out and allow it to run freely. This part is quite time consuming as there are three rows to drill and I tested each set to make sure the runner was a nice tight fit and everything was square.
The next step was to weld the runners on, weld a back onto the unit and put
on a top board and faces on the draws and carpet it. For some reason I
have not got a pic of the finished product but I used automotive carpet from a
car stereo shop as the covering material for the ply draw fronts and the ply
top.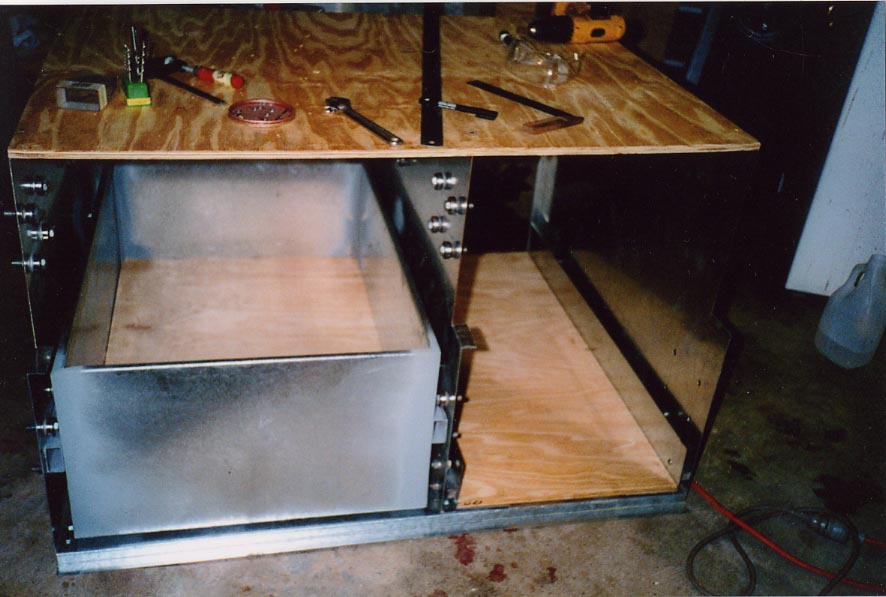
The draws successfully crossed the Simpson Desert about 3 weeks after finishing them and they still work a treat. Due to my lack of confidence in just how low I could mount the fridge I ended up with 100mm of unused space above the fridge. At present I have a shallow tray on heavy duty draw slides in that location.
I finished off the draws with two hinged wings that go out to the edges of the cargo area which allow me to store things down beside the draws (wine, fuel for the stove, the lantern etc) whilst still being able to access the storage areas in the inner guards.
The draws use locking window bolts to hold them in place.
If I was building them again I would just make the whole unit 100mm lower and improve the usable space above the draws. Although smaller draws may not sound attractive the lower draw is probably 100mm deeper than the Outback Roller Draw system whilst the top draw is about 20mm deeper. You can loose things in those draws they are that big.
I would also make the front uprights flat rather than stepped and probably the rear as well. This would certainly save a lot of money in cutting and folding costs.
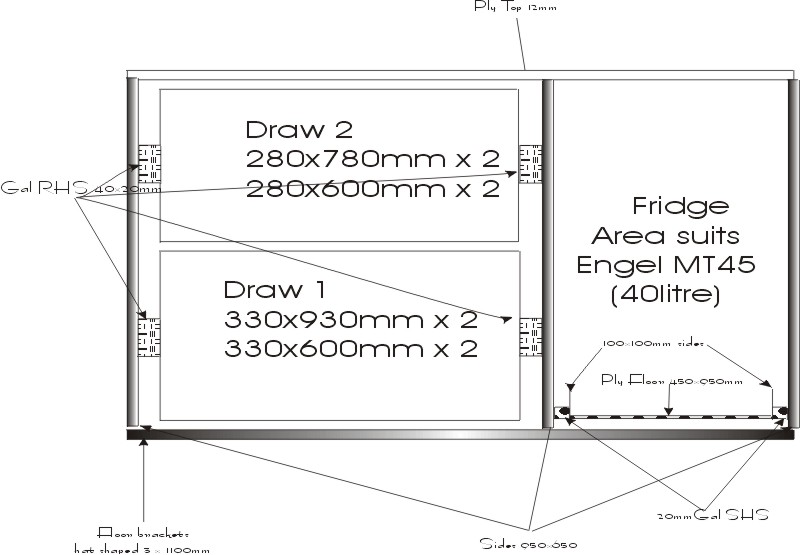
This is my rough plan, my folding instructions, and a jpeg of the instructions.